Learn How to Set Up a WordPress Store with WooCommerce step-by-step. Build, customize, and launch your online store to start selling products online today.
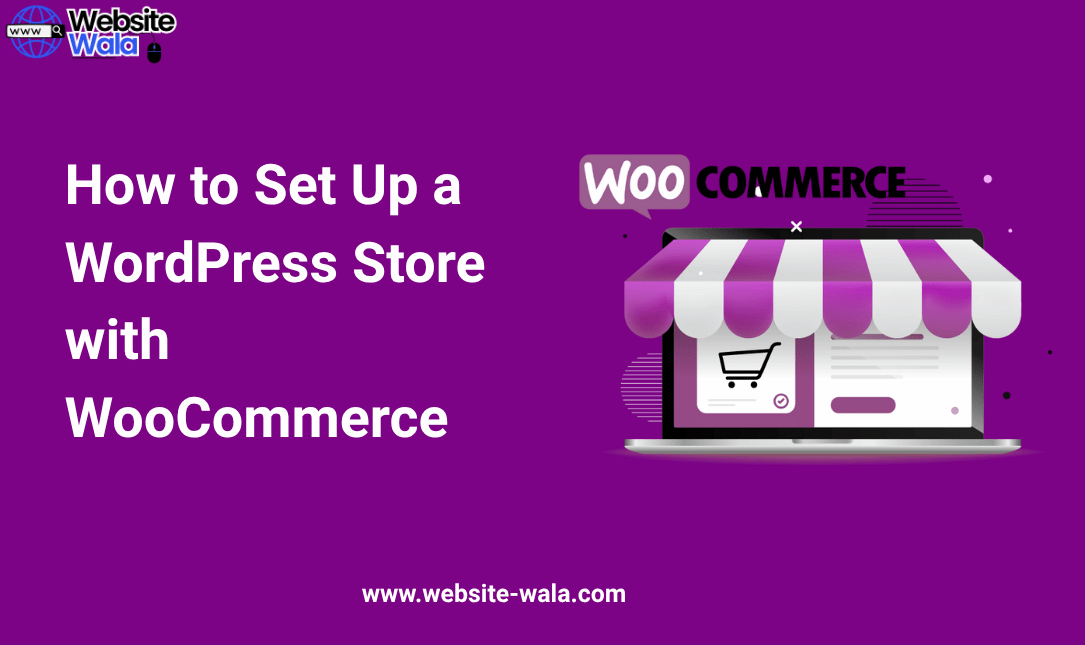
How to Set Up a WordPress Store with WooCommerce: Step-by-Step Guide
If you’re interested in starting an online business and selling products on your own website, learning How to Set Up a WordPress Store with WooCommerce is one of the best things you can do. WordPress, combined with WooCommerce, offers a powerful and flexible way to build a professional ecommerce site that can sell both physical products and digital products to customers worldwide.
In this detailed guide, we’ll walk you through everything you need to know about How to Set Up a WordPress Store with WooCommerce, from installation to customization and launch.
What Is WooCommerce and Why Use It?
Before diving into How to Set Up a WordPress Store with WooCommerce, it’s important to understand what WooCommerce is and why it’s so popular. WooCommerce is a free WordPress plugin that transforms your standard WordPress website into a fully functional online store.
It supports a variety of payment processing options, inventory management tools, and countless extensions to help you grow your online sales. Whether you’re selling products online like handcrafted goods, digital downloads, or services, WooCommerce offers the scalability and customization you need.
Step 1: Choose a Domain and Hosting for Your WordPress Store
The first step in How to Set Up a WordPress Store with WooCommerce is selecting a domain name and hosting plan. Your domain name is your store’s web address—something short, memorable, and relevant to your brand.
Next, you’ll need a hosting provider that supports WordPress. Many hosting companies, such as Bluehost, SiteGround, and Hostinger, offer one-click WordPress installations and specialized ecommerce hosting plans optimized for speed and security.
Tip: Choose a hosting plan that provides SSL certificates for secure payment processing and customer trust.
Step 2: Install WordPress
Once your hosting is ready, it’s time to install WordPress. Most modern hosts offer a simple one-click installation process.
After installation, log in to your WordPress dashboard (usually found at yourdomain.com/wp-admin). From here, you’ll manage your website, install WordPress plugins, and customize your online store design.
Step 3: Install and Activate WooCommerce
Now for the heart of the process—installing WooCommerce.
-
From your WordPress dashboard, go to Plugins > Add New.
-
Search for “WooCommerce.”
-
Click Install Now, then Activate.
The WooCommerce setup wizard will automatically launch to guide you through the basics of How to Set Up a WordPress Store with WooCommerce. You’ll enter your business information, choose your currency, and decide what types of products (physical or digital) you’ll be selling.
Step 4: Configure WooCommerce Settings
Proper configuration is key to successful online store setup. WooCommerce allows you to customize everything about your ecommerce experience.
-
General Settings: Define your store address, currency, and selling locations.
-
Shipping Settings: Set rates, delivery methods, and zones for physical products.
-
Tax Settings: Enable taxes if applicable and configure rates for your region.
-
Payment Processing: Choose your payment gateways such as PayPal, Stripe, or bank transfer.
By completing this step carefully, you’ll ensure a smooth payment processing and checkout experience for your customers.
Step 5: Add Products to Your Store
The next crucial step in How to Set Up a WordPress Store with WooCommerce is adding your product listings.
To add a new product:
-
Go to Products > Add New.
-
Enter your product title, description, and upload high-quality images.
-
Set a price, manage stock, and define shipping options.
-
For digital products, uncheck the “shipping” box and upload your downloadable files.
Organize your product listings into categories and use tags to make it easier for customers to browse your online store.
Step 6: Design Your WordPress Store
Your online store design plays a huge role in customer experience. Choose a WooCommerce-compatible WordPress theme that aligns with your brand’s style and product offerings.
Many themes are built specifically for WooCommerce and come with pre-designed templates for product pages, carts, and checkout screens. You can also use page builders like Elementor or Gutenberg for easy website development and layout customization.
Make sure your WordPress store design is:
-
Mobile-responsive
-
Fast-loading
-
Easy to navigate
-
Visually appealing
A professional design not only improves online sales but also builds trust and credibility with your audience.
Step 7: Install Essential WordPress Plugins
To enhance your WordPress store, you can install additional WordPress plugins that extend WooCommerce functionality.
Some must-have plugins for any ecommerce site include:
-
Yoast SEO: Optimize your online store for search engines.
-
WP Super Cache: Improve website speed and performance.
-
Jetpack: Add security, backups, and analytics.
-
WooCommerce Payments: Streamline payment processing directly within your store.
These plugins help you manage everything from online store design to selling products online efficiently.
Step 8: Set Up Payment and Shipping Options
For any online store, payment processing and shipping options are vital. WooCommerce supports multiple payment gateways, including credit/debit cards, PayPal, and Stripe.
You can configure these under WooCommerce > Settings > Payments.
For physical products, go to Shipping to set delivery rates, free shipping thresholds, or local pickup options.
If you sell digital products, you can disable shipping entirely.
Step 9: Test Your Store Before Launch
Before making your WordPress store public, test everything.
-
Add a product to your cart.
-
Go through the checkout process.
-
Test your payment processing systems in sandbox mode.
-
Confirm email notifications work correctly.
By testing thoroughly, you can fix any issues and provide a seamless shopping experience for your customers.
Step 10: Launch Your Online Store
Congratulations! You’ve completed How to Set Up a WordPress Store with WooCommerce. Now it’s time to launch.
Announce your new ecommerce site on social media, create marketing campaigns, and use email newsletters to promote your products. With WooCommerce’s built-in analytics, you can track online sales, monitor performance, and optimize your strategy over time.
Pro Tips for Growing Your WooCommerce Store
Once your online store setup is complete, focus on growth:
-
Optimize for SEO: Use your focus keyword “How to Set Up a WordPress Store with WooCommerce” and related terms naturally throughout your content.
-
Add Product Reviews: Build trust and increase conversions.
-
Offer Discounts: Encourage repeat purchases and loyalty.
-
Leverage Social Media: Promote your WordPress store across multiple platforms.
-
Use Email Marketing: Keep your audience engaged with new product announcements and special offers.
Conclusion
Learning How to Set Up a WordPress Store with WooCommerce gives you complete control over your online store design, product listings, and payment processing. Whether you’re selling products online, offering digital downloads, or shipping physical products, WooCommerce makes starting an online business simple and cost-effective.
With its flexibility, scalability, and extensive ecosystem of WordPress plugins, WooCommerce remains the best choice for anyone serious about website development and online sales growth.