Learn How to Migrate Your WordPress Site to a New Domain safely and effectively without losing SEO rankings, traffic, or data during site migration.
How to Migrate Your WordPress Site to a New Domain
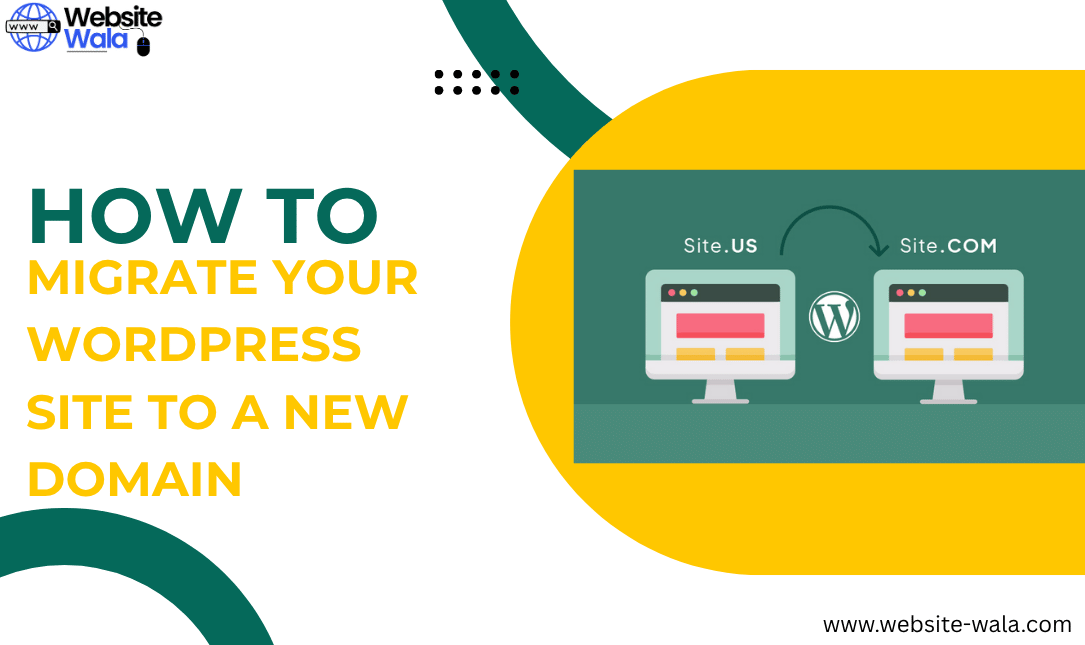
If you’ve decided to change your website’s domain name, knowing how to migrate your WordPress site to a new domain is essential. Whether you’re rebranding, improving your domain authority, or simply upgrading your web presence, a smooth domain migration ensures your SEO, traffic, and site data remain intact. In this comprehensive guide, we’ll walk you step-by-step through how to migrate your WordPress site to a new domain, covering technical aspects, SEO considerations, and post-migration checks.
Why Migrate Your WordPress Site to a New Domain?
Before diving into the steps of how to migrate your WordPress site to a new domain, it’s important to understand the reasons behind site migration. Common motivations include:
-
Rebranding: Your business name or focus may have changed.
-
Better Domain Name: You found a more memorable or keyword-rich new domain.
-
Switching from HTTP to HTTPS: Enhancing site security and SEO performance.
-
Changing Hosting Providers: Moving to a faster, more reliable server.
Regardless of your reason, planning your website transfer carefully will protect your SEO rankings and maintain your existing traffic.
Step 1: Backup Your WordPress Site
The first step in how to migrate your WordPress site to a new domain is to create a full backup. This ensures that all your content, themes, plugins, and databases are safe if something goes wrong.
You can back up your site using plugins like UpdraftPlus, Duplicator, or All-in-One WP Migration. These tools simplify the process of moving WordPress sites by allowing you to download your backup files easily. Alternatively, you can manually back up your site using cPanel or FTP to copy your files and phpMyAdmin to export your database.
Step 2: Set Up Your New Domain
Next, you need to prepare your new domain for the migration. Purchase and register the new domain if you haven’t already. Then, connect it to your hosting provider by updating your DNS records.
Ensure your web development environment on the new server matches your current setup — same PHP version, database configuration, and WordPress version. This prevents compatibility issues during site migration.
Step 3: Move Your Files to the New Domain
Once your new environment is ready, transfer your WordPress files from the old domain to the new one. You can do this manually using FTP (File Transfer Protocol) or automatically with a website transfer plugin.
If using a plugin like Duplicator, follow these steps:
-
Install the plugin on your old site.
-
Create a “package” (a complete copy of your website).
-
Upload the package and installer file to your new domain’s root directory.
-
Run the installer script to unpack your site.
This process effectively completes the technical portion of moving a WordPress site.
Step 4: Update Your WordPress Configuration File
After transferring your files, open the wp-config.php file in the root directory of your new domain. Update the database name, username, and password to match the new database credentials. This ensures that your WordPress installation connects correctly to the new environment.
This small but crucial step ensures your domain migration goes smoothly without breaking your site.
Step 5: Update URLs in the Database
Now that your WordPress files are live on the new domain, you’ll need to update the URLs stored in your database. Every image, internal link, and reference to your old domain must point to the new domain.
You can do this easily using plugins like Better Search Replace or WP Migrate DB. Search for your old domain and replace it with the new domain. This step ensures consistency across your website and prevents broken links after site migration.
Step 6: Set Up 301 Redirects from Old Domain to New Domain
One of the most important SEO steps in how to migrate your WordPress site to a new domain is setting up 301 redirects. These redirects tell search engines that your site has permanently moved, preserving your SEO authority and ensuring visitors find your new site.
Add the following code to your .htaccess file in the old domain’s root directory:
RewriteEngine On RewriteCond %{HTTP_HOST} ^old-domain\.com$ [OR] RewriteCond %{HTTP_HOST} ^www\.old-domain\.com$ RewriteRule (.*)$ "https://www.new-domain.com/$1" [R=301,L]
Replace “old-domain.com” and “new-domain.com” with your actual domain names. This step ensures all your traffic and SEO equity seamlessly transfer to the new address.
Step 7: Update Google Search Console and Analytics
Once your domain migration is complete, you must notify Google about the change.
-
Log into Google Search Console and add your new domain as a property.
-
Use the Change of Address tool to inform Google about your site’s move.
-
Update your Google Analytics property settings to track the new domain.
This ensures your SEO rankings, indexing, and traffic data remain accurate after site migration.
Step 8: Test Your New Site Thoroughly
Before you finalize your WordPress site migration, thoroughly test your new site. Check all internal links, images, forms, and scripts. Ensure that pages load quickly and redirect correctly from the old domain.
You can use tools like Screaming Frog SEO Spider or Ahrefs Site Audit to crawl your site for errors. A smooth, error-free website transfer ensures a positive user experience and stable search performance.
Step 9: Monitor Your SEO and Traffic Performance
After completing how to migrate your WordPress site to a new domain, continue monitoring your site’s performance. Keep an eye on:
-
Traffic fluctuations (via Google Analytics)
-
Crawl errors (via Google Search Console)
-
Broken links or redirect loops
It’s normal to see a slight drop in traffic initially after domain migration, but if you’ve implemented proper redirects and updated all URLs, your rankings should recover within weeks.
Common Mistakes to Avoid During WordPress Site Migration
When learning how to migrate your WordPress site to a new domain, avoid these common pitfalls:
-
Skipping backups: Always back up before making any changes.
-
Forgetting 301 redirects: This can cause massive SEO losses.
-
Ignoring internal links: Broken links hurt both users and search rankings.
-
Not notifying Google: Search engines need to know about your domain change.
-
Testing after going live: Always test on a staging site first if possible.
Avoiding these mistakes ensures your site migration process is smooth, secure, and SEO-friendly.
Conclusion: How to Migrate Your WordPress Site to a New Domain the Right Way
Learning how to migrate your WordPress site to a new domain can seem intimidating, but with the right approach, it’s a straightforward process. By carefully backing up your files, transferring your database, setting up redirects, and updating your SEO tools, you can successfully complete a domain migration without losing rankings or traffic.
Remember: the key to moving a WordPress site is planning and testing at every step. With this guide, you can confidently handle your website transfer and enjoy a seamless transition to your new domain.