Learn How to Set Up Custom Error Pages with Your Web Hosting to enhance user experience, improve branding, and handle website errors effectively.
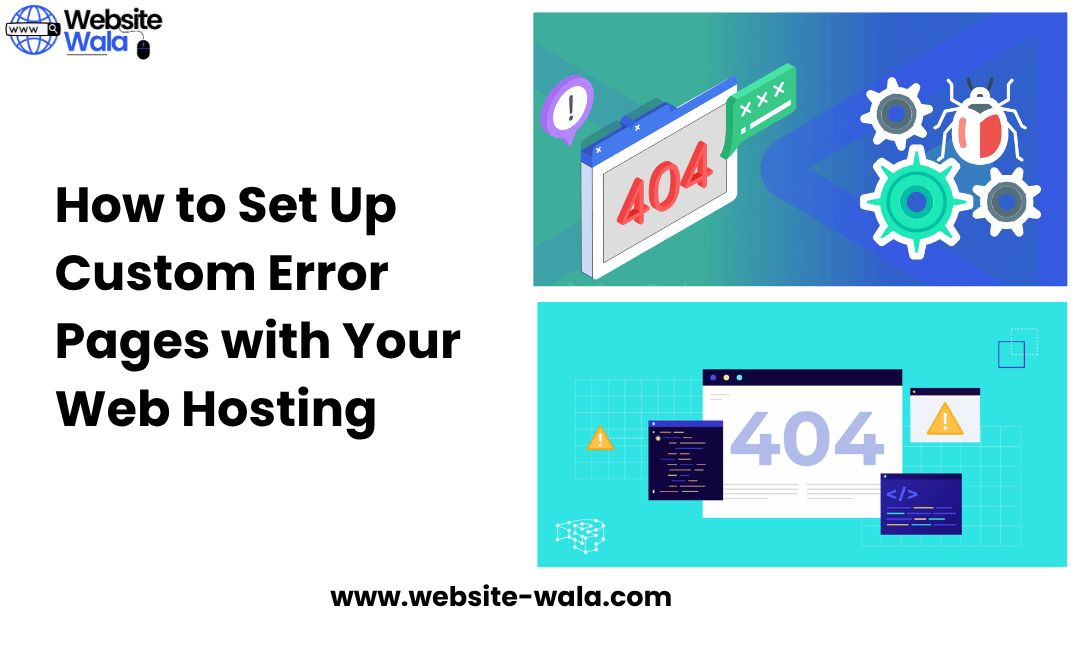
How to Set Up Custom Error Pages with Your Web Hosting
When visitors encounter website errors such as 404 or 500 pages, a poorly designed or generic message can harm your site’s credibility and frustrate users. Learning How to Set Up Custom Error Pages with Your Web Hosting not only improves user experience but also reinforces your branding while effectively handling unexpected server errors.
In this comprehensive guide, you’ll learn the importance of custom error pages, how to create them, and how to configure them properly on your web hosting server.
Why You Need Custom Error Pages
Before diving into How to Set Up Custom Error Pages with Your Web Hosting, it’s essential to understand why they matter. A custom error page replaces generic server error messages with branded, user-friendly alternatives.
When a visitor lands on an error page due to HTTP error codes like 404 (Not Found), 403 (Forbidden), or 500 (Internal Server Error), your goal is to keep them engaged rather than frustrated.
Key Benefits of Custom Error Pages
-
Improved User Experience:
Instead of a confusing “Page Not Found” message, a custom page guides users back to your main content, improving navigation and overall satisfaction. -
Stronger Branding:
Custom error pages allow you to use your logo, color scheme, and tone of voice—maintaining brand consistency even during website errors. -
Better SEO and Retention:
Well-structured error pages can reduce bounce rates and keep users on your site longer, which positively influences search rankings. -
Enhanced Error Handling:
By customizing how your server handles error messages, you gain more control over the user journey and can even log recurring errors for troubleshooting.
Understanding HTTP Error Codes
Before you begin learning How to Set Up Custom Error Pages with Your Web Hosting, familiarize yourself with the most common HTTP error codes your users may encounter:
-
400 – Bad Request: The server can’t process the request due to invalid syntax.
-
403 – Forbidden: Access to the resource is denied.
-
404 – Not Found: The requested page doesn’t exist.
-
500 – Internal Server Error: A general server issue.
-
503 – Service Unavailable: The server is temporarily overloaded or undergoing maintenance.
By identifying these errors, you can create specific custom error pages for each, tailoring messages and guidance appropriately.
Step-by-Step Guide: How to Set Up Custom Error Pages with Your Web Hosting
Now let’s dive into the practical steps of How to Set Up Custom Error Pages with Your Web Hosting. The exact process depends on your hosting environment (cPanel, Plesk, or a manual setup via .htaccess), but the core principles remain consistent.
Step 1: Create Your Custom Error Page Designs
Your first step is to create visually appealing custom error pages for each relevant error type. Keep these design principles in mind:
-
Match your website branding: Use your site’s logo, fonts, and colors.
-
Include helpful navigation: Add links to your homepage or popular pages.
-
Explain the issue clearly: Use plain language to describe what happened.
-
Add a search bar or contact link: Help users find what they were looking for.
For example, a 404 error page could say:
“Oops! The page you’re looking for isn’t here. Try using the search bar or return to the homepage.”
This approach blends error page design with user experience and branding consistency.
Step 2: Save Your Error Pages to Your Server
Once you’ve created your custom error pages, upload them to your website’s root directory or a specific subfolder, such as /errors/. Make sure each file is named clearly, such as:
-
404.html -
500.html -
403.html
This helps your web hosting server recognize which page corresponds to which HTTP error code.
Step 3: Configure Your Hosting Settings
Depending on your hosting provider, the method to assign your custom error pages will vary slightly.
Using cPanel:
-
Log in to your cPanel dashboard.
-
Navigate to Advanced > Error Pages.
-
Select your domain.
-
Choose the error code (e.g., 404, 403, 500).
-
Click Edit or Create Custom Page.
-
Add your HTML or link to your uploaded error page.
-
Save your changes.
Using Plesk:
-
Log into your Plesk panel.
-
Go to Hosting Settings.
-
Under Custom Error Documents, check “Yes.”
-
Upload your files or select from your existing custom pages.
-
Save your configuration.
Using .htaccess (for Apache servers):
If your web hosting uses Apache, add the following lines to your .htaccess file:
ErrorDocument 404 /errors/404.html ErrorDocument 403 /errors/403.html ErrorDocument 500 /errors/500.html
This tells the server where to find each custom error page.
Step 4: Test Your Error Pages
Once you’ve set up your pages, test them to ensure they display correctly.
Try visiting a non-existent URL (e.g., yourdomain.com/test404) to see if your custom error page appears.
Also, check how the page looks on mobile devices to maintain consistency across all platforms. This ensures your error handling system is working as intended and supports a seamless user experience.
Step 5: Monitor and Optimize
Setting up is just the beginning. To make the most of How to Set Up Custom Error Pages with Your Web Hosting, monitor your website for recurring server errors using analytics or your hosting logs.
If users often land on certain error messages, consider fixing broken links or adding redirects. You can also A/B test different error page designs to find what keeps users engaged the longest.
Best Practices for Error Page Customization
Here are some tips for making your error page customization even more effective:
-
Keep it simple: Avoid clutter. A clean layout helps users focus on what to do next.
-
Stay consistent: Match the rest of your website’s tone and style.
-
Use humor or empathy: Light-hearted messages can soften frustration.
-
Add visuals: A small graphic or animation can make your page memorable.
-
Provide actionable options: Include buttons for “Go Home,” “Contact Support,” or “Try Again.”
Following these principles helps you align technical error handling with positive user experience and brand perception.
Common Mistakes to Avoid
While learning How to Set Up Custom Error Pages with Your Web Hosting, many site owners make the following errors:
-
Neglecting mobile optimization – Pages that look good on desktop but break on mobile frustrate users.
-
Forgetting SEO – Don’t use meta tags that block indexing unnecessarily.
-
Redirect loops – Avoid redirecting from one error page to another.
-
Generic text – Bland “404 not found” messages provide no value.
A thoughtful error page design prevents these pitfalls and supports both usability and professionalism.
Conclusion
Understanding How to Set Up Custom Error Pages with Your Web Hosting is a vital skill for any website owner who values user experience, branding, and effective error handling.
By designing professional custom error pages, configuring them properly within your hosting control panel or .htaccess, and continuously testing and improving them, you’ll turn frustrating website errors into opportunities to engage and retain visitors.
A well-crafted error page design doesn’t just fix a problem—it enhances your brand’s credibility and makes your website feel complete, reliable, and user-friendly.