Learn How to Migrate Your Website to a New Hosting Provider safely and efficiently with this step-by-step website migration guide for a seamless transfer.
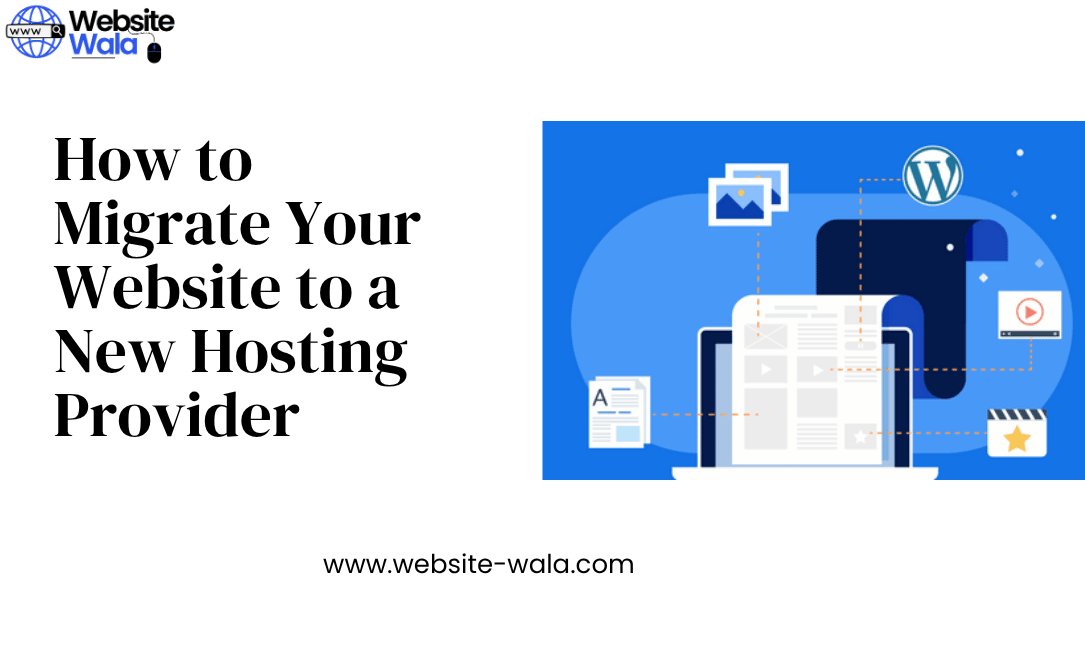
How to Migrate Your Website to a New Hosting Provider: A Complete Step-by-Step Guide
Are you planning to switch web hosts but worried about downtime or data loss? Learning How to Migrate Your Website to a New Hosting Provider is essential for maintaining your site’s performance, SEO rankings, and user experience. Whether you’re upgrading to a better hosting provider or simply seeking improved reliability, this comprehensive website move guide will walk you through the entire website migration process with ease.
Why You Might Need to Migrate Your Website
Before diving into How to Migrate Your Website to a New Hosting Provider, it’s important to understand why you might consider doing so. Common reasons include:
-
Slow loading times: A sluggish host can drive away visitors.
-
Frequent downtime: Unreliable uptime negatively affects your SEO and credibility.
-
Limited features: Your current hosting provider might lack scalability or essential tools.
-
Better pricing: A new host may offer improved plans at a lower cost.
Migrating website data doesn’t have to be intimidating. With careful planning and the right steps, you can transfer your website to a new server without losing data or facing downtime.
Step 1: Choose the Right New Hosting Provider
The first step in How to Migrate Your Website to a New Hosting Provider is selecting the right hosting provider for your needs. Look for:
-
Speed and uptime guarantees
-
Excellent customer support
-
Automatic backups
-
Scalability options
-
Migration assistance
Many top hosting companies even offer free website migration services. If your new host provides this feature, it can save you time and minimize the risk of errors during the website transfer process.
Step 2: Back Up Your Website Files and Database
Before you move your website, create a full backup of your website files and website database. This ensures that you have a recovery point in case anything goes wrong.
You can back up your site manually using cPanel or an FTP client such as FileZilla, or use automated backup plugins (especially for WordPress sites). Make sure to save all essential components:
-
Website files (HTML, CSS, JavaScript, media)
-
Databases (MySQL or other database types)
-
Configuration files (.htaccess, wp-config.php, etc.)
This backup acts as your insurance policy during the website migration.
Step 3: Set Up Your New Hosting Environment
Once you’ve chosen your new host, set up the new hosting account and prepare it for your website transfer. This usually involves:
-
Creating a new domain setup or adding your existing domain.
-
Setting up email accounts (if necessary).
-
Uploading the backed-up website files.
-
Importing your website database.
Ensure your website hosting environment matches the old one—same PHP version, database settings, and folder structure. This prevents compatibility issues once your site goes live on the new server.
Step 4: Upload Website Files to the New Host
Next in How to Migrate Your Website to a New Hosting Provider is uploading your website content. Using FTP or your control panel’s File Manager, transfer all website files to your new server.
Be sure to maintain the same directory structure (for example, upload files to the /public_html/ folder if that’s where your site resides). Once the files are uploaded, double-check file permissions and verify that all data transferred successfully.
Step 5: Import Your Website Database
For dynamic sites (like WordPress, Joomla, or Drupal), importing your website database is crucial. Here’s how:
-
Access your new host’s phpMyAdmin panel.
-
Create a new database and user (with full privileges).
-
Import your old database backup.
-
Update configuration files (such as
wp-config.php) to reflect new database credentials.
This connects your site to the new host’s database system, completing a key part of the website migration.
Step 6: Update DNS Settings
Once your files and database are in place, the next step in How to Migrate Your Website to a New Hosting Provider is updating your domain’s DNS settings.
Point your domain to the new host’s name servers (found in your hosting dashboard). DNS propagation can take anywhere from a few hours to 48 hours. During this period, both the old and new servers may handle requests.
To minimize downtime:
-
Avoid making changes to your site during DNS propagation.
-
Keep your old hosting active until you confirm the new setup is fully functional.
Step 7: Test Your Website Thoroughly
Before officially completing the website move, test your website on the new hosting environment. Use your new host’s temporary URL or edit your computer’s hosts file to preview the site without changing DNS.
Check for:
-
Broken links
-
Missing images
-
Database connection errors
-
Page speed and performance
A thorough review ensures a seamless website migration experience for your users.
Step 8: Cancel the Old Hosting Account
After confirming that your website transfer process is complete and everything functions properly on the new host, it’s safe to cancel your old hosting account.
However, keep backups for a few weeks in case you need to restore any files or data. This step finalizes How to Migrate Your Website to a New Hosting Provider successfully.
Common Website Migration Mistakes to Avoid
When learning How to Migrate Your Website to a New Hosting Provider, be mindful of common pitfalls:
-
Skipping backups: Never start without a full backup of files and databases.
-
Incorrect DNS setup: Ensure nameservers point to the new host correctly.
-
Ignoring SEO settings: Maintain URL structures and redirects to preserve rankings.
-
Not testing properly: Always test before making the final DNS switch.
Avoiding these mistakes guarantees a seamless website migration and helps you maintain uptime and user trust.
Pro Tips for a Seamless Website Migration
To ensure a smooth website move:
-
Plan ahead: Schedule the website migration during low-traffic hours.
-
Monitor performance: Use tools like GTmetrix or Pingdom after migration.
-
Use migration plugins: For WordPress, plugins like Duplicator or All-in-One WP Migration simplify the process.
-
Notify users: If downtime is unavoidable, inform users in advance.
-
Check emails: Ensure all associated email accounts are transferred properly.
By following these tips, you can migrate your website without disruptions.
Final Thoughts on How to Migrate Your Website to a New Hosting Provider
Learning How to Migrate Your Website to a New Hosting Provider is essential for maintaining your online presence and improving site performance. By carefully backing up your website files and website database, choosing a reliable hosting provider, and following a structured website transfer process, you can complete the migration smoothly.
A seamless website migration protects your content, SEO rankings, and user experience. With this website move guide, you now have the knowledge to migrate your website confidently and successfully transition to your new host.